How to Create a Folding Paper Box Step by Step Guide?
Creating a Folding Paper Box can be a delightful and practical skill. Renowned expert in origami, John Smith, once said, "The beauty of a Folding Paper Box lies in its simplicity and creativity." This art form not only serves functional purposes but also allows for personal expression.
In a world filled with digital solutions, the act of folding paper invites mindfulness. Engaging in this craft can enhance your focus and creativity. A well-made Folding Paper Box can hold gifts, store items, or simply serve as a decorative piece. Craftsmanship in this area reflects attention to detail, making the box a canvas for your imagination.
However, achieving perfection takes practice. You might find that your first attempts don't match your vision. Each fold teaches a lesson, inviting reflection. Mistakes can lead to unique outcomes, adding character to your project. Embrace these moments; they are part of the journey towards mastering the Folding Paper Box.
Materials Needed for Folding Paper Box Creation
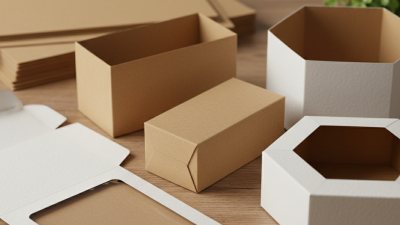
Creating a folding paper box requires a few simple materials, but choosing them carefully makes a big difference. The basic need is sturdy paper or lightweight cardstock. Thin paper often tears, while thick paper can be hard to fold neatly. A medium-weight paper around 160-200 gsm works well for durability and ease. Also, plain or patterned paper can add a personal touch, but designs might confuse the folding lines if too busy.
You will also need a ruler and a bone folder or similar tool to make crisp folds. Using fingers alone may cause uneven creases. Sometimes I find the bone folder slippery, so a clean cloth helps grip better. A pencil is useful to lightly mark fold lines, but make sure those marks are faint or can be erased without damaging the paper. A pair of scissors or a craft knife is important to trim any excess or to make precise cuts, though it’s easy to cut too much and ruin the shape.
Glue or double-sided tape helps keep the box secure if the folds don’t hold well. However, sometimes relying on glue makes the construction messier than desired. It’s worth experimenting with different glues and minimal amounts to avoid visible residue. Taking time with materials before starting folds will probably save frustration later, even if not every attempt turns out perfect.
How to Create a Folding Paper Box Step by Step Guide? - Materials Needed for Folding Paper Box Creation
| Material |
Description |
| Cardstock Paper |
Heavy weight paper ideal for making sturdy boxes. |
| Ruler |
For measuring and marking accurate lines on the paper. |
| Pencil |
To make markings that can be erased easily if necessary. |
| Scissors |
For cutting the paper to the desired shape and size. |
| Glue or Double-Sided Tape |
To secure the corners and edges of the box together. |
| Decorative Materials |
Optional items like stickers, ribbons, or paints for personalization. |
Step-by-Step Instructions for Folding the Box
Creating a folding paper box can be a satisfying experience. Many people enjoy crafting, and this skill has practical applications. According to the Paper and Packaging Board, the industry is estimated to grow by 3.3% annually. This indicates a rising interest in sustainable and DIY projects.
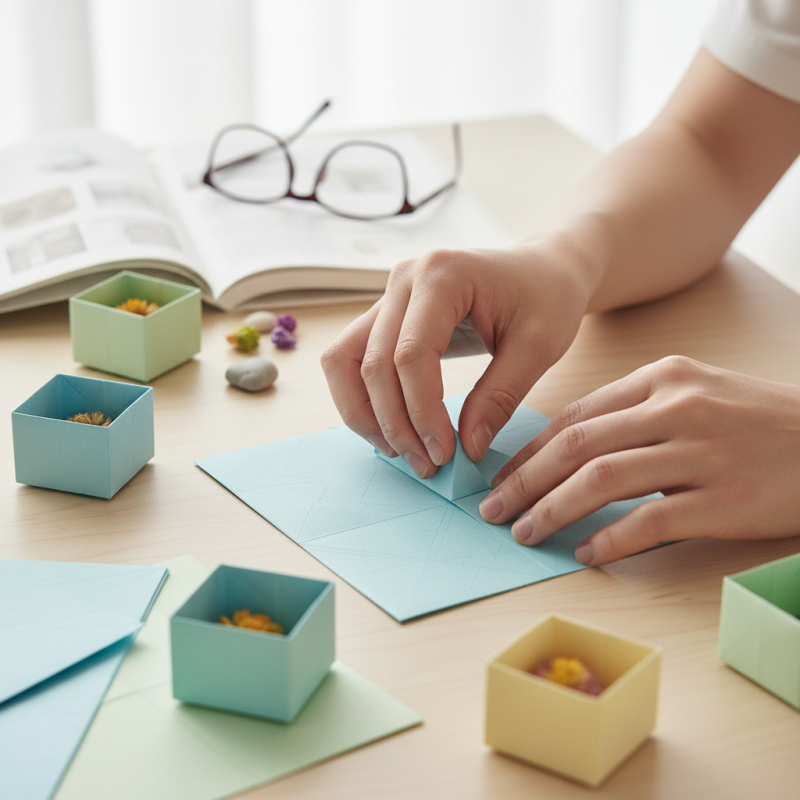
To fold a box, start with a piece of paper. A square works best. Measure and cut the paper accurately. Use a ruler for straight lines. Fold gently along the edges to create creases. These creases shape the box’s sides. This step requires patience. Many crafters struggle with precise folds. A slight deviation can affect the final product.
Next, assemble the box by folding the sides up. Tuck the flaps securely. This part can be tricky, especially if the paper is thick. Remember, it's okay if your first attempt isn't perfect. Reflect on your process to improve. Practice makes perfect, and each box teaches valuable skills. Data shows that hands-on activities enhance cognitive abilities. So, enjoy the journey of creating something unique!
Techniques for Ensuring Precise Folds and Cuts
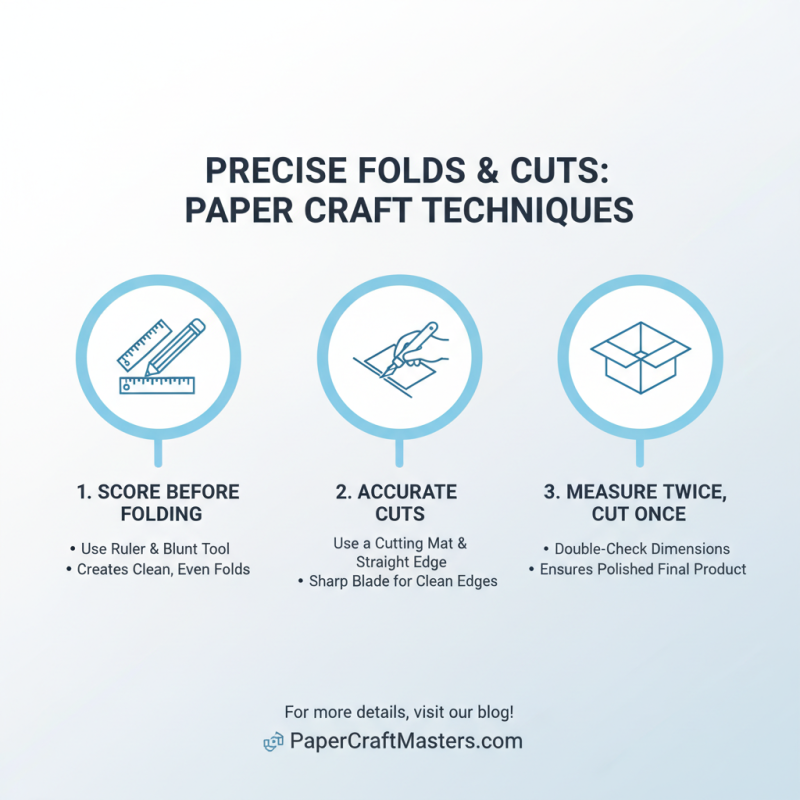
Creating a folding paper box requires precision in both folds and cuts. Accurate techniques are essential for a polished final product. One method is to score the paper before folding. Use a ruler and a blunt object to run along the edges where folds will occur. This creates a weak point, allowing for cleaner and more even folds.
Cutting with care is equally important. A sharp craft knife will yield the best results. Place the paper on a cutting mat to avoid damage to surfaces. Always use a straight edge to guide your knife, ensuring that the lines remain straight and true. When mistakes happen, such as uneven cuts or jagged edges, take a moment to reassess your tools and techniques. Reflect on what went wrong and consider adjusting your approach in future projects.
The quality of your materials impacts your work too. Thicker paper can be challenging to fold, while lightweight paper might not hold its shape. Experiment with different kinds to find the right balance. Your experience will guide you, helping refine your skills over time. A willingness to learn from imperfections is key to mastering box-making.
Alternative Uses for Your Finished Folding Paper Box
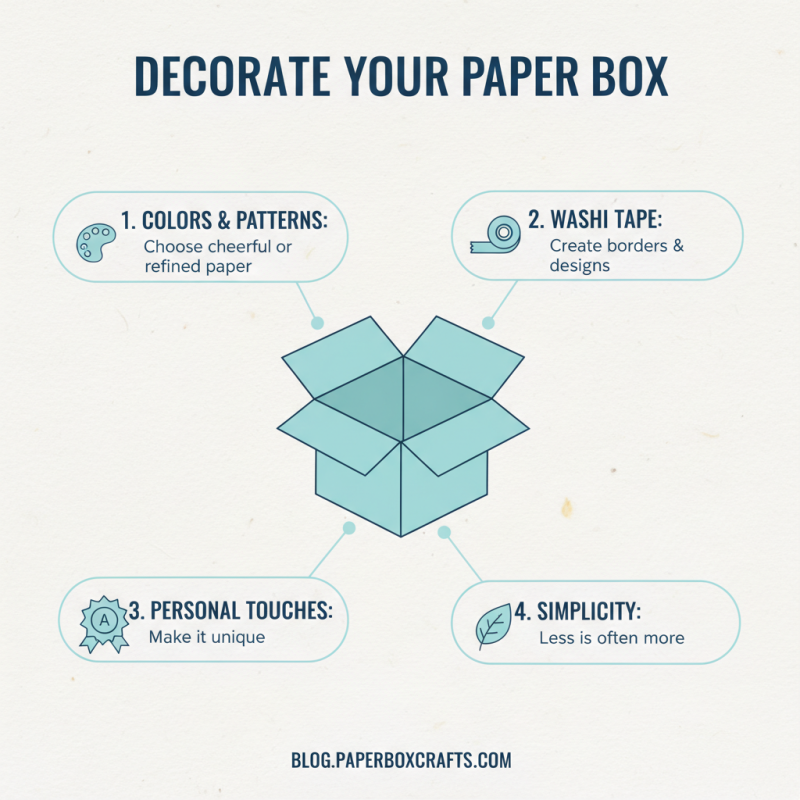
Folding paper boxes can serve many purposes beyond simple storage. Once you create your box, consider using it as a gift container. Customize the box with colors or patterns that match the celebration. It adds a personal touch to your presents.
You can also use these boxes for organization around the house. They work great for sorting small items like stationery, craft supplies, or even kitchen utensils. Stack them neatly on shelves. This method saves space and keeps everything tidy.
For more creativity, transform the boxes into decorative pieces. Add a few embellishments, maybe some flowers or nature-inspired decor. Hang them on a wall as art or use them to showcase small collectibles. Reflect on the possibilities. Each box is unique and can carry different meanings.
Folding Paper Box Usage Statistics